How To Install Kodi In Raspberry Pi: The Ultimate Guide For Media Lovers
So, you've got your hands on a Raspberry Pi and you're thinking, "Hey, why not turn this little gadget into a media powerhouse?" Well, my friend, you're in the right place. Installing Kodi in Raspberry Pi is like giving your tech setup a superpower. It's not just about streaming; it's about creating an entertainment hub that can handle movies, music, games, and more. Let's dive in and make your Raspberry Pi dreams come true, shall we
Now, before we jump into the nitty-gritty, let's clear something up. Kodi is more than just a media player. It's a platform that lets you organize all your entertainment in one place. Think of it as a personal DJ, movie theater manager, and gaming console all rolled into one. With Raspberry Pi, you're getting a budget-friendly device that can handle all this and more. It's like turning a potato into a fully-fledged media center. Pretty cool, right?
But hey, don't worry if you're a total noob at this. This guide is crafted with love for beginners who want to get their feet wet without drowning in tech jargon. We'll walk you through every step, from downloading the necessary files to setting up your media library. By the end of this, you'll be a Kodi pro, ready to binge-watch your favorite shows or jam out to your playlists. So, let's get started!
- Despicable Me Mom The Ultimate Guide To Understanding The Iconic Character
- A Deep Dive Into American Horror Story Season 2 Characters Unraveling The Madness
What You Need Before Installing Kodi in Raspberry Pi
First things first, you can't just jump into installing Kodi without having the right tools. It's like trying to bake a cake without flour. You're gonna need some essentials to make this happen. Here's a quick rundown of what you'll need:
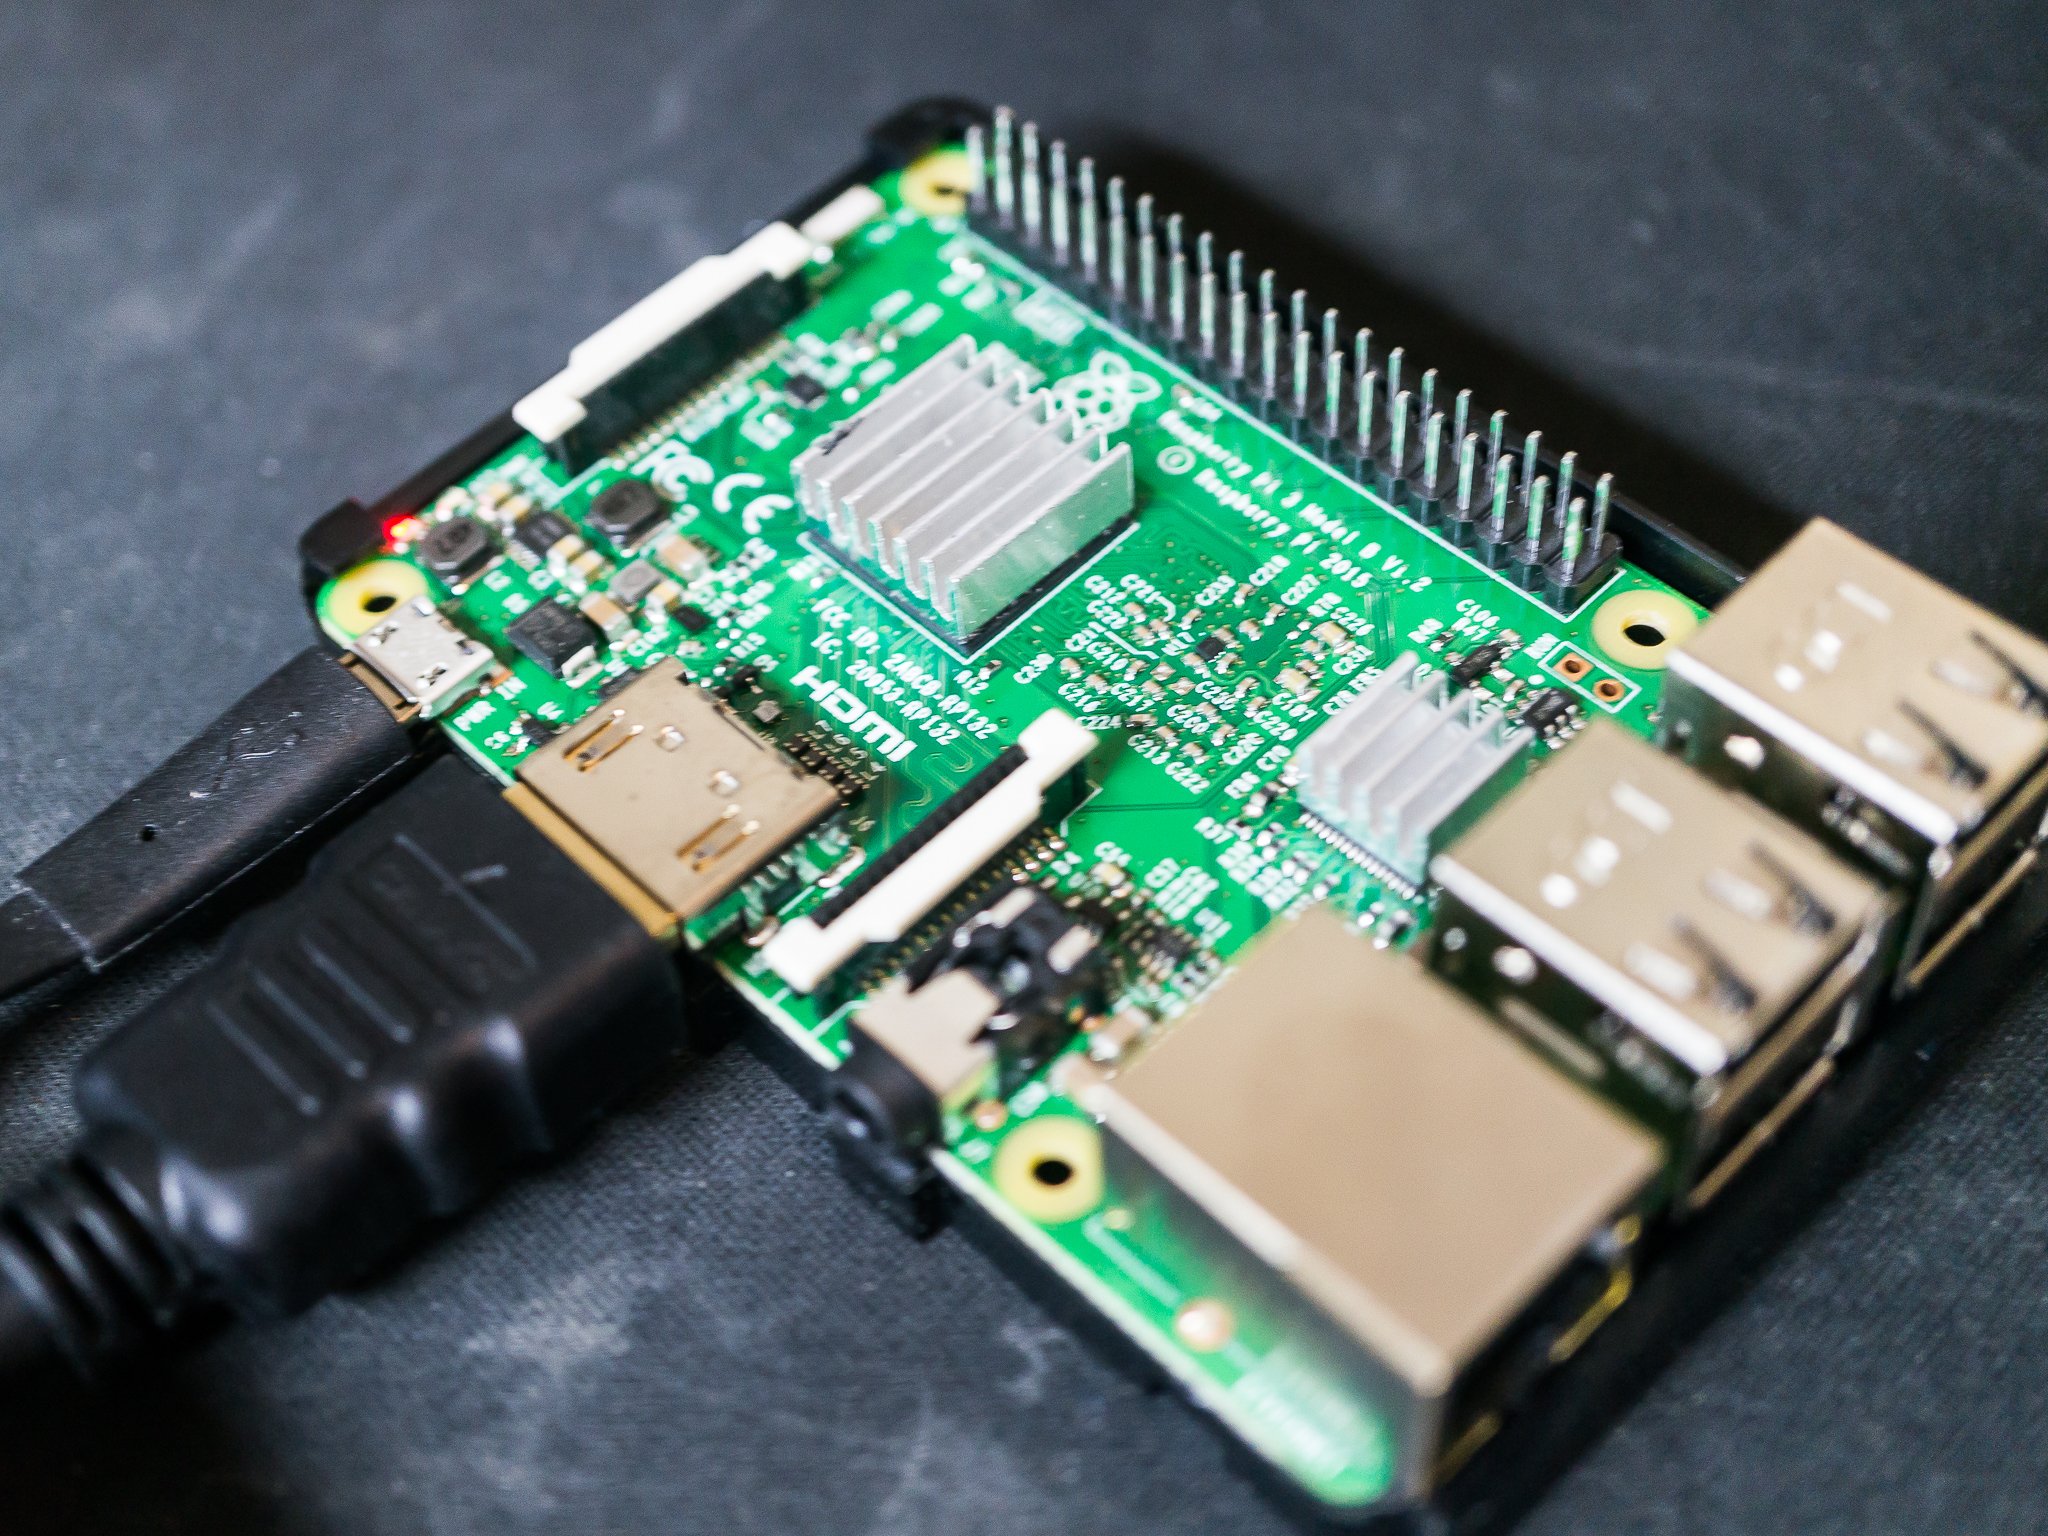
- A Raspberry Pi device (preferably Raspberry Pi 4 for better performance).
- A microSD card (at least 16GB, but 32GB is recommended).
- A reliable power supply for your Raspberry Pi.
- An Ethernet cable or Wi-Fi dongle for internet connectivity.
- A keyboard and mouse (or a wireless keyboard with a built-in trackpad).
- An HDMI cable to connect your Raspberry Pi to a TV or monitor.
- A computer to prepare the microSD card.
Once you've got all these goodies, you're good to go. Think of it as your tech toolbox. Now, let's move on to the fun part – setting everything up!
Preparing Your Raspberry Pi for Kodi Installation
Alright, now that you've gathered all your gear, it's time to prep your Raspberry Pi for Kodi. This step is crucial because it sets the foundation for a smooth installation process. First, you'll need to flash an operating system onto your microSD card. Don't panic; it's easier than it sounds.
- Top Food Places In Corsicana Tx A Locals Guide To Your Next Meal
- Unlocking The Power Of Raspberry Pi A Beginners Guide To Open Ports
For Kodi, the most popular choice is LibreELEC. It's a lightweight operating system specifically designed for media centers like Kodi. To get started, download the LibreELEC image from their official website. Once you've got the image, use a tool like BalenaEtcher or Raspberry Pi Imager to flash it onto your microSD card. It's like copying a file, but with a bit more magic involved.
After flashing the microSD card, pop it into your Raspberry Pi and power it up. If everything goes well, you should see the LibreELEC setup screen. It's like turning on a car and hearing the engine roar to life. Now, let's connect your Raspberry Pi to the internet. You can either use an Ethernet cable or set up Wi-Fi through the LibreELEC interface. Easy peasy, right?
Why LibreELEC is the Best Choice for Kodi
Now, you might be wondering, "Why should I use LibreELEC instead of Raspbian or another OS?" Great question! LibreELEC is optimized for media centers, which means it uses fewer resources and offers a faster, more stable experience. It's like driving a race car instead of a minivan when you're on the track. Plus, it comes pre-installed with Kodi, so you don't have to go through the hassle of installing it separately.
Another cool thing about LibreELEC is its simplicity. The interface is clean and straightforward, making it perfect for beginners. You don't have to worry about configuring a bunch of settings or dealing with unnecessary bloatware. It's all about Kodi, and that's what makes it awesome.
Step-by-Step Guide to Install Kodi in Raspberry Pi
Alright, here's the moment you've been waiting for – the actual installation process. Don't worry; it's not as scary as it sounds. Follow these steps, and you'll have Kodi up and running in no time.
Once your Raspberry Pi is powered up and connected to the internet, you'll see the LibreELEC desktop. Now, here's what you need to do:
- Open the LibreELEC settings by clicking on the gear icon.
- Go to "System" and then "Software Update." This ensures your system is up to date.
- After the update, Kodi should automatically launch. If it doesn't, you can start it manually from the LibreELEC menu.
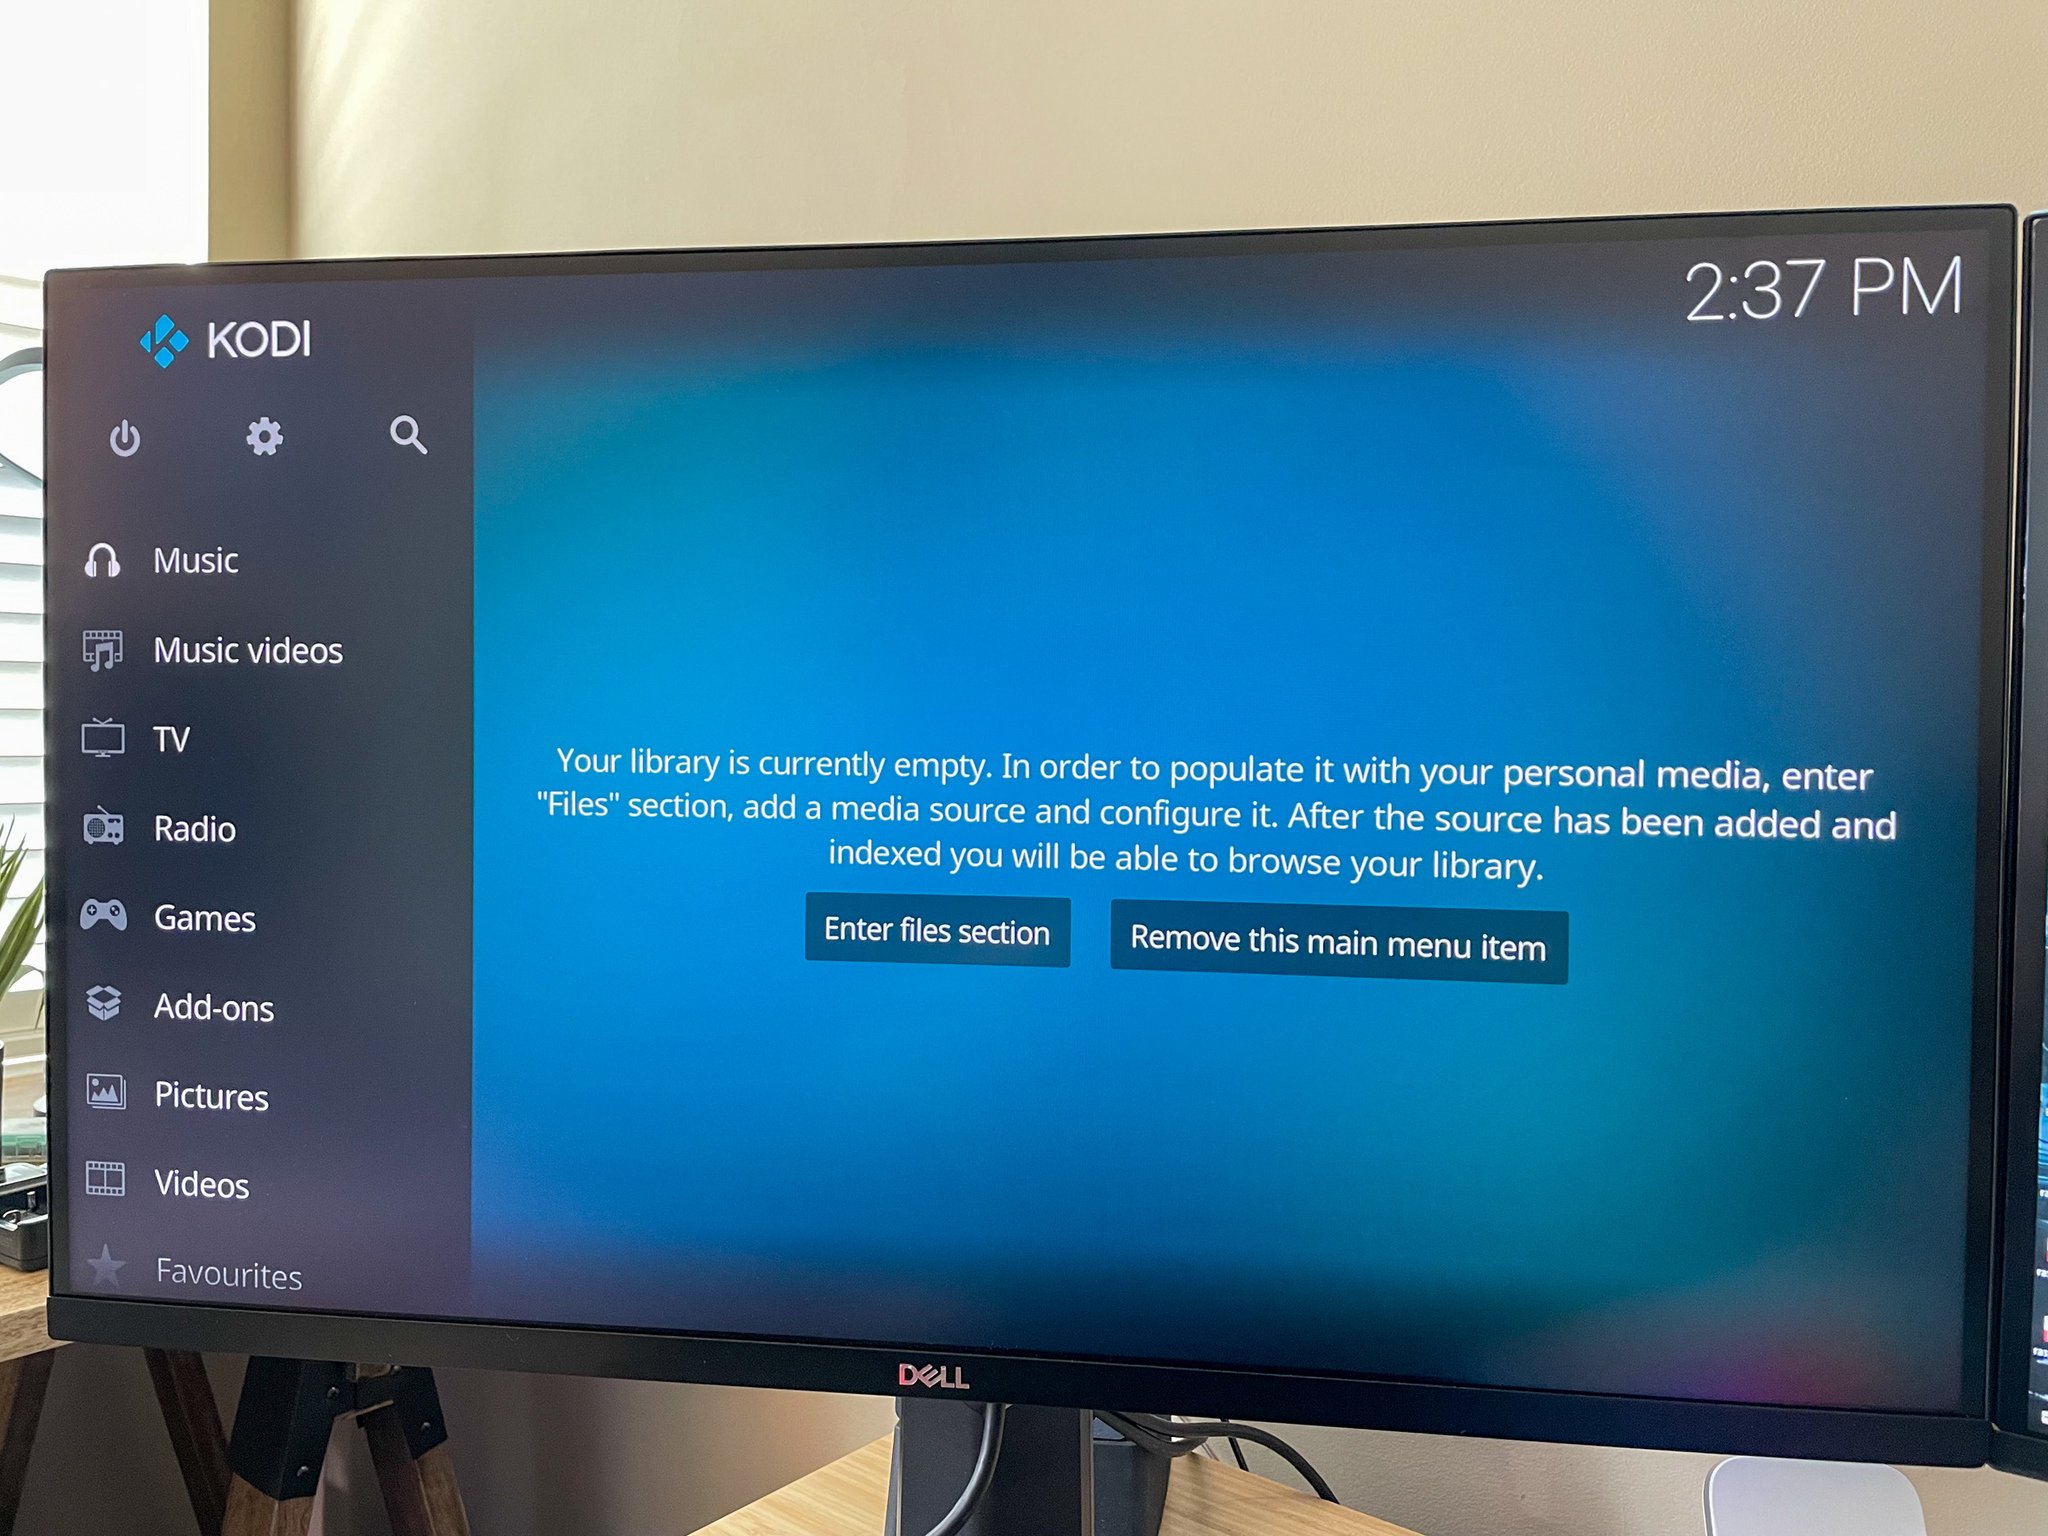
Voila! You now have Kodi running on your Raspberry Pi. It's like opening a treasure chest filled with entertainment. But wait, there's more. Let's customize your setup to make it even better!
Customizing Kodi on Your Raspberry Pi
Now that you've got Kodi installed, it's time to make it your own. Kodi offers tons of customization options to suit your preferences. Here are a few things you can do:
- Change the skin to give Kodi a fresh look. There are tons of skins available, from sleek and modern to retro and vintage.
- Add your media files by navigating to "Files" and then "Add Media Source." You can add local files from your network or online sources.
- Install add-ons to expand Kodi's functionality. From streaming services to music playlists, the possibilities are endless.
Customizing Kodi is like decorating your house. You can make it as simple or as extravagant as you want. The choice is yours!
Tips and Tricks for Optimizing Kodi on Raspberry Pi
Now that you've got Kodi up and running, let's talk about some tips and tricks to make your experience even better. These little tweaks can make a big difference in performance and usability.
First, adjust the video settings to match your Raspberry Pi's capabilities. You can do this by going to "Settings," then "Player," and adjusting the video output and hardware acceleration. This ensures smooth playback without any lag.
Another tip is to manage your add-ons wisely. While it's tempting to install every add-on under the sun, having too many can slow down your system. Stick to the ones you actually use and uninstall the rest. It's like cleaning out your closet – less is more.
Common Issues and How to Fix Them
Let's face it, tech stuff doesn't always go smoothly. If you encounter any issues with Kodi on your Raspberry Pi, don't panic. Here are some common problems and their solutions:
- Slow Performance: Try updating your Raspberry Pi's firmware and clearing cache in Kodi.
- No Sound: Check your audio settings and make sure the correct output device is selected.
- Blank Screen: Restart your Raspberry Pi and ensure all cables are properly connected.
These fixes should help you get back on track in no time. Tech troubleshooting is like solving a puzzle – sometimes it takes a bit of patience, but the reward is worth it.
Exploring Kodi Add-ons for Raspberry Pi
One of the coolest things about Kodi is its vast library of add-ons. These little plugins can enhance your experience by adding new features and content. Here are some popular add-ons you might want to check out:
- Tubed: A YouTube add-on that lets you browse and watch videos directly in Kodi.
- Plex: Stream your media library from your Plex server to Kodi.
- SportsDevil: Watch live sports events with this handy add-on.
Remember, always download add-ons from trusted sources to avoid any security risks. It's like buying food from a reputable restaurant – you don't want to get food poisoning, right?
How to Install Third-Party Add-ons Safely
Installing third-party add-ons can be a bit tricky, but it's not impossible. Here's how you can do it safely:
- Enable "Unknown Sources" in Kodi's settings. You can find this under "Settings"> "Add-ons"> "Install from zip file."
- Download the add-on files from a trusted website.
- Transfer the files to your Raspberry Pi using a USB drive or network share.
- Install the add-on by navigating to "Add-ons"> "Install from zip file" and selecting the downloaded file.
By following these steps, you can enjoy the benefits of third-party add-ons without compromising your system's security. It's all about balance, my friend.
Conclusion: Your Kodi Adventure Awaits
And there you have it – a comprehensive guide to installing Kodi in Raspberry Pi. By following these steps, you've turned your little device into a media powerhouse. Whether you're streaming movies, listening to music, or playing games, Kodi has got you covered.
Now, here's the fun part – exploring all the possibilities Kodi offers. From customizing your interface to adding new add-ons, the world is your oyster. So, what are you waiting for? Dive in and start creating your ultimate media center.
Before you go, don't forget to share your experience in the comments below. Tell us about your favorite Kodi add-ons or any tips you've discovered along the way. And if you found this guide helpful, why not share it with your friends? Together, let's build a community of Kodi enthusiasts who are ready to take their entertainment to the next level.
Table of Contents
- What You Need Before Installing Kodi in Raspberry Pi
- Preparing Your Raspberry Pi for Kodi Installation
- Why LibreELEC is the Best Choice for Kodi
- Step-by-Step Guide to Install Kodi in Raspberry Pi
- Customizing Kodi on Your Raspberry Pi
- Tips and Tricks for Optimizing Kodi on Raspberry Pi
- Common Issues and How to Fix Them
- Exploring Kodi Add-ons for Raspberry Pi
- How to Install Third-Party Add-ons Safely
- Conclusion: Your Kodi Adventure Awaits
- Late Night Food Downtown Charleston Your Ultimate Guide To Midnight Munchies
- When Does Zola Get Adopted A Heartwarming Journey You Need To Know

How to install Kodi on a Raspberry Pi Android Central
How to install Kodi on a Raspberry Pi in 2021 Android Central
How to install Kodi on a Raspberry Pi Android Central
